
This is the first in the series documenting my project to turn an old Mission speaker into a portable Bluetooth/Snapcast speaker.
I’ve got quite a few portable speakers (you can see another in the background of the below pic) and this is another one to add to the collection. I prefer to repurpose an existing speaker as it means I don’t have to build the enclosure which means considering the Thiele-Small parameters and designing the enclosure properly. By using a pre-made speaker chances are the drivers and enclosure are already matched.
The crossover is not used as the end result will be bi-amped.
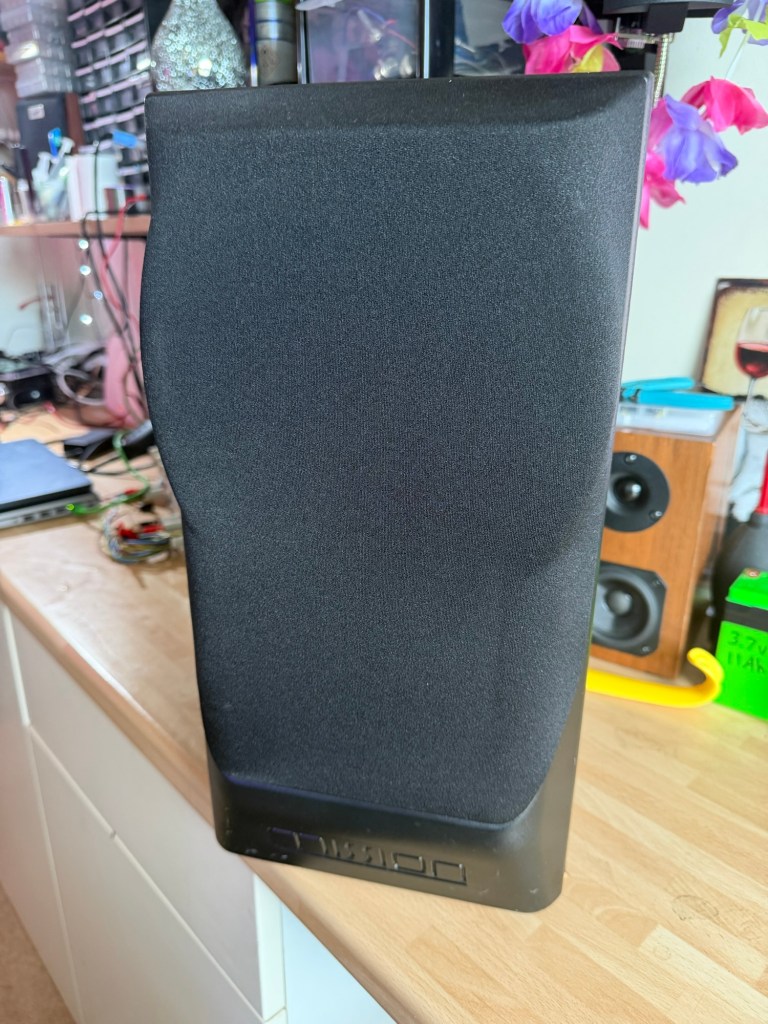
I picked up a pair of Mission 730s for £40 from Facebook marketplace. They aren’t high end Missions but they do sound nice and are perfect to be repurposed for this application.
The hardware planned for this build is:
- Mission 730 enclosure and drivers
- Dual TDA7396 amplifier board with onboard PCM5102 DAC (one per driver)
- DIY 4S battery pack with USB charging
- ESP32 based Bluetooth/Snapserver receiver with i2s out into the DAC
The boards are all my own design and I’ll share schematics and details as we go.
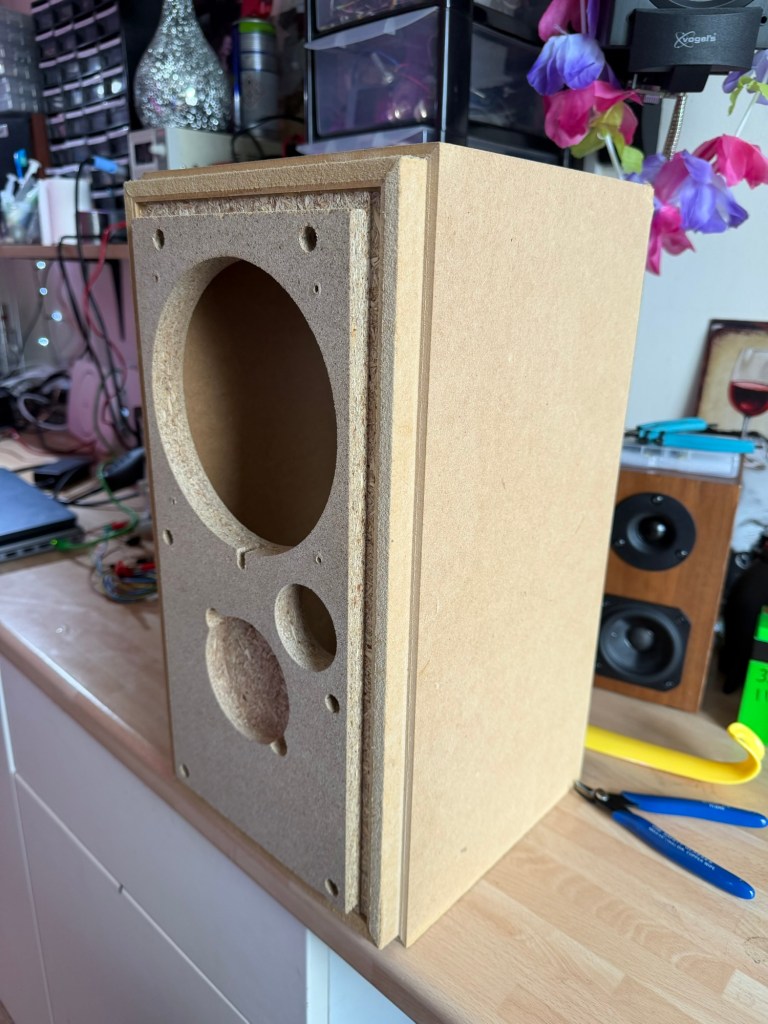
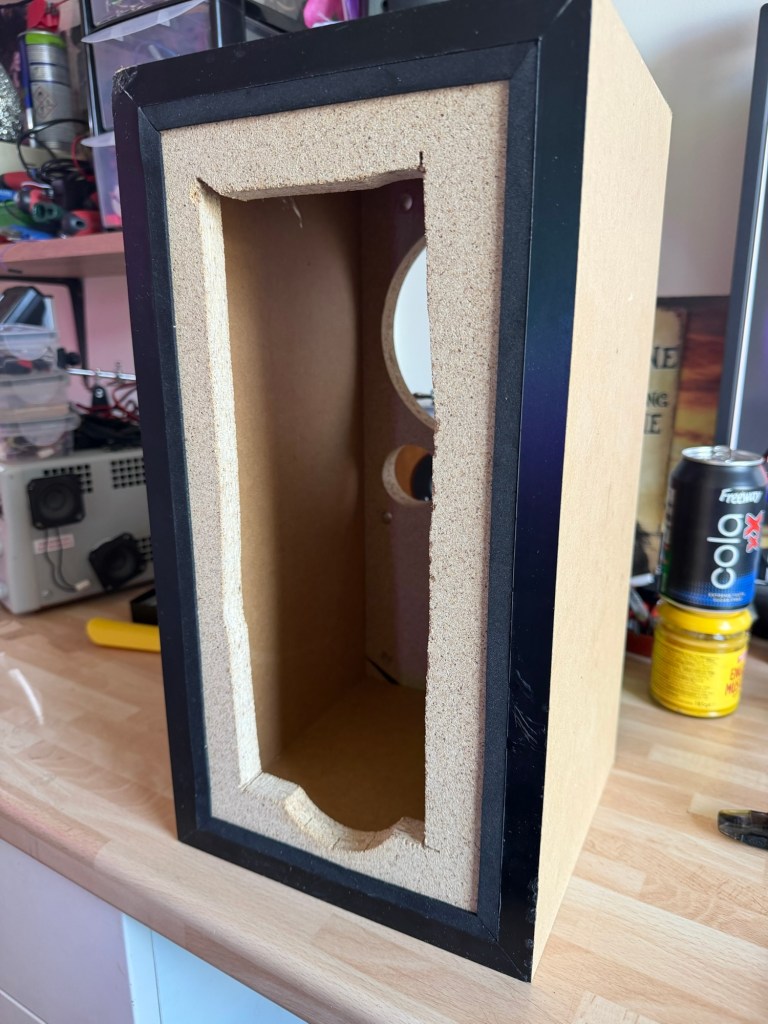
The first stage was to remove the drivers (set to one side as these will be reused) and front panel. Once this is done we remove the binding posts and crossover before cutting a big hole in the back.
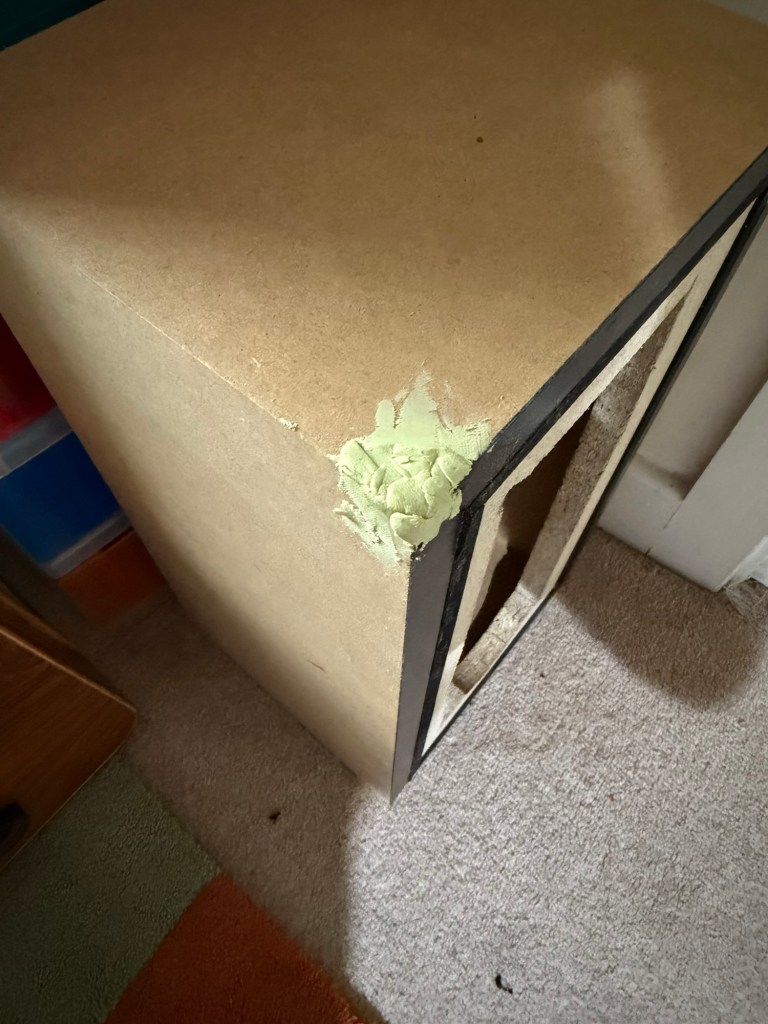
The stick on vinyl veneer was starting to peel off so I thought I’d remove it all and replace it with iron-on wood veneer.

The main PCB in this project consists of:
- PCM5102 DAC
- Output of DAC summed to mono
- LM1971 volume control
- ATTiny412 MCU control for the LM1971
- Opamp based crossover (2.34KHz)
- 2xTDA7396 chipamps (one per driver)
The amps runs directly off the 4S battery pack (16.8v) and have plenty of power. The TDA7396 chipamps have plenty of grunt and can even drive 2 ohm speakers.
Part 2 coming soon when we start assembling the internals and apply the veneer
Thanks for looking

Leave a comment